Hello there and welcome back! Excited to dive into today’s topic! In today’s post, we’re building on our previous article ‘Create a Website with Nginx.‘ If you’re following along, be sure to check out the earlier post for context., this time I want to show how you can enable and use HTTPS to allow encrypted communication for your website with Nginx through a self-signed certificate, please know you can also create your own trusted free SSL certificate with Let’s Encrypt. Let’s get started!
Building upon the knowledge and demo website we previously created first things first, let’s generate our certificate files, for this, I will use OpenSSL:
# Install OpenSSL

sudo apt update -y
sudo apt install openssl -y

# Generate TLS/SSL self-signed certs (fill in / replace required info)

sudo openssl req -x509 -nodes -days 365 -newkey rsa:2048 -keyout /etc/ssl/private/nginx-demo-mfk-labs-com.key -out /etc/ssl/certs/nginx-demo-mfk-labs-com.crt -subj "/CN=demo.mfk-labs.com"
Now, we will add a few lines to our website’s config file (/etc/nginx/sites-available/demo-mfk.conf).
# Open the config file with your favorite editor

sudo nano /etc/nginx/sites-available/demo-mfk.conf
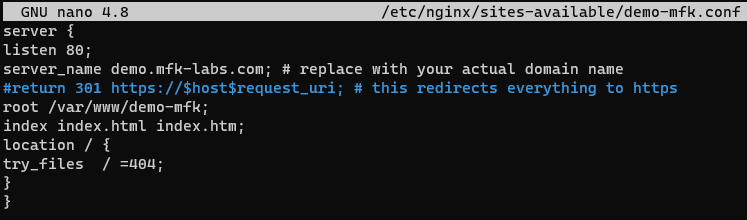
You should see a config similar to this:
# We will add a new configuration block to listen for HTTPS

# HTTPS Config
server {
  listen 443 ssl;
  server_name demo.mfk-labs.com;

  # SSL Config
  ssl_certificate     /etc/ssl/certs/nginx-demo-mfk-labs-com.crt;
  ssl_certificate_key /etc/ssl/private/nginx-demo-mfk-labs-com.key;
  ssl_protocols       TLSv1 TLSv1.1 TLSv1.2;
  ssl_ciphers         HIGH:!aNULL:!MD5;


  location / {
      root /var/www/demo-mfk;
      index index.html index.htm;
      try_files $uri $uri/ =404;
  }
}

# Let's also modify our HTTP block to redirect all traffic to HTTPS, we will uncomment this line (delete the # symbol)

return 301 https://$host$request_uri; # this redirects everything to https


# Optional

# I usually like to remove the Nginx default website, we can do so by running

sudo rm /etc/nginx/sites-enabled/default
sudo systemctl reload nginx

# You can add the following lines in each server block to make the website more secure and not be accessible by IP Address only
# Credits for this config goes to https://erikpoehler.com/2022/08/02/how-to-block-direct-ip-access-to-your-nginx-web-server/

if ( $host != "demo.mfk-labs.com" ){
        return 444; #CONNECTION CLOSED WITHOUT RESPONSE
    }
Remember to always test and reload your config changes:
sudo nginx -t
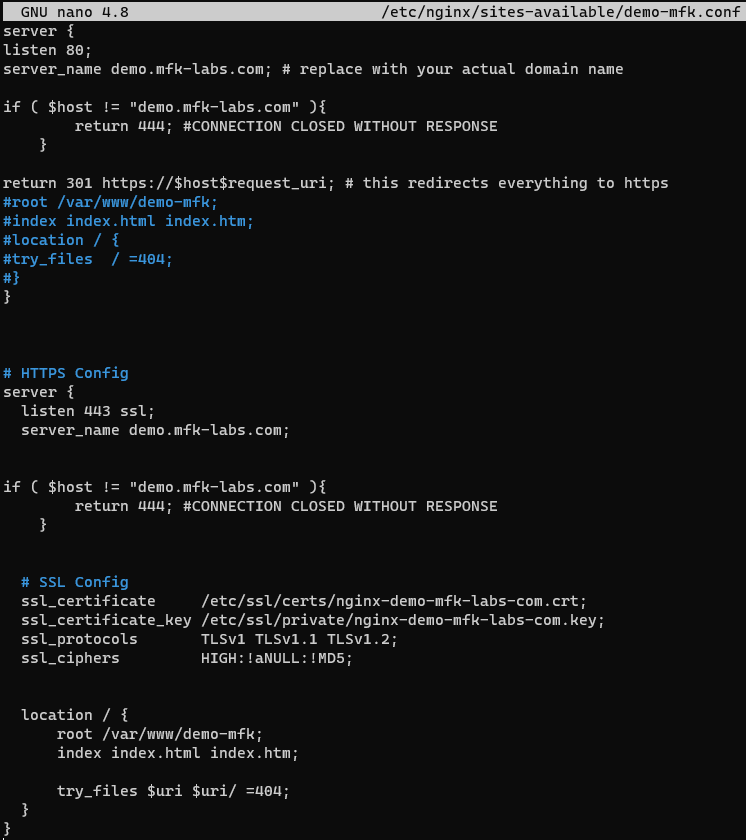
sudo systemctl reload nginxThese changes let me with a config file looking like this:
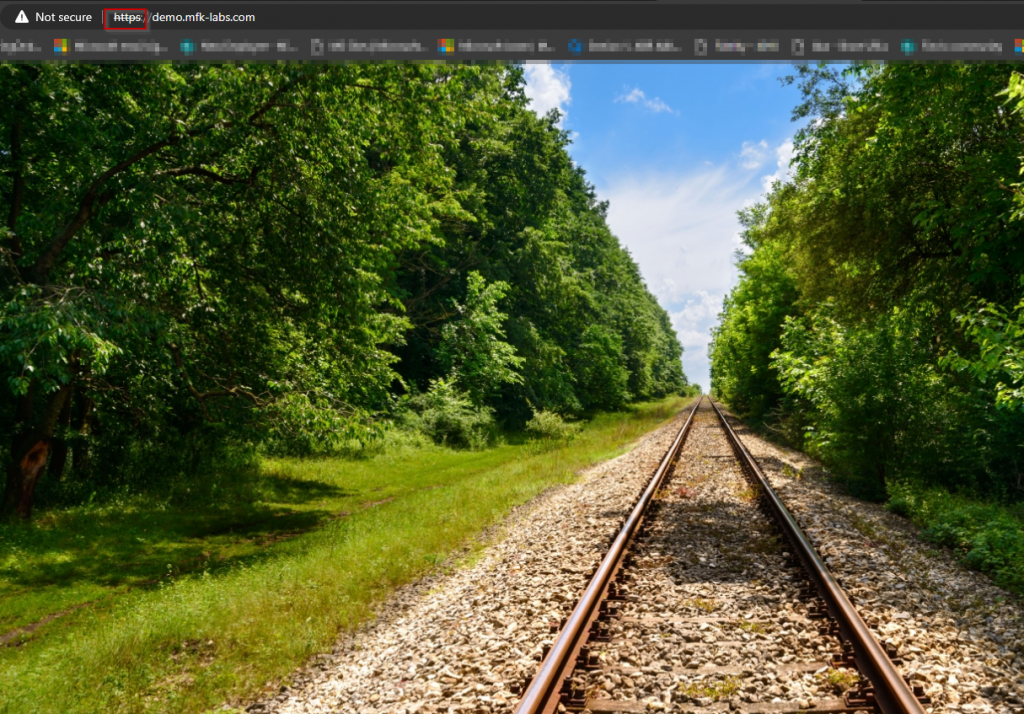
Overall, that should let our website to now be only accessible by HTTPS and encrypt all of our traffic:
And that’s it for this post, thanks a lot for reading, hope this may be helpful and as always wish you the best in your IT and networking journeys. Stay curious, keep that knowledge flowing, and until next time—happy exploring!