Hey everyone! Thanks for tuning in, have you ever found yourself in a situation where you want to create a web server? Either for yourself, curiosity or because you want to do a quick test lab? I’ve been there, multiple times and always end up searching for how to create a site and having to consult multiple pages since I don’t find all the information or pieces I need in one place. In this post, I will show you how to create a quick Ngnix server in Ubuntu Linux, my main purpose here will be to help you create a quick test website that you can employ for your labs or to get started with the basics of web hosting while also touching a few interesting points, without further add, let’s get started 🙂
Our environment:
- VM Running Ubuntu Linux LTS 18.04 in any hypervisor or container (I will use ESXI).
For this post, I’ve compiled the following script, this will create a quick test website that can be accessed using the FQDN of demo.mfk-labs.com since this is not a real public website and I want to access it from my local network, I’ve modified the host file to link the FQDN to the IP of the local Linux web server:
# Make updates and install Nginx

sudo apt update -y
sudo apt install nginx -y

# Creating website's folders and setting permissions

sudo mkdir /var/www/demo-mfk
sudo chown -R $USER:$USER /var/www/demo-mfk
touch /var/www/demo-mfk/index.html
mkdir /var/www/demo-mfk/images


# Adding some HTML to the index file to allow the background image to cover the whole page

cat << EOF > /var/www/demo-mfk/index.html
<!DOCTYPE html>
<html lang="en">
<head>
<meta charset="UTF-8">
<meta name="viewport" content="width=device-width, initial-scale=1.0">
<title>MFK Demo Website</title>
</head>
<body>
<style>
body {
margin: 0;
padding: 0;
width: 100vw;
height: 100vh;
overflow: hidden;
background-image: url("images/view1.jpg");
background-size: cover;
background-position: center;
background-repeat: no-repeat;
}
</style>
</body>
</html>
EOF


# Downloading a background image and renaming it to view1.jpg

cd /var/www/demo-mfk/images
wget https://pics.freeartbackgrounds.com/fullhd/Railway_Background-1522.jpg
mv Railway_Background-1522.jpg view1.jpg

# Loggging in as root to add website's config

sudo su
cat <<'EOF' > /etc/nginx/sites-available/demo-mfk.conf
server {
listen 80;
server_name demo.mfk-labs.com; # replace with your actual domain name
#return 301 https://$host$request_uri; # this redirects everything to https
root /var/www/demo-mfk;
index index.html index.htm;
location / {
try_files $uri $uri/ =404;
}
}
EOF
exit

# Creating soft/symbolic link for website, checking config syntax, and reloading nginx

sudo ln -s /etc/nginx/sites-available/demo-mfk.conf /etc/nginx/sites-enabled/demo-mfk.conf
sudo nginx -t
sudo systemctl reload nginx
Ideally running the above script should let running with a very basic HTTP website that can be accessed from your local network:
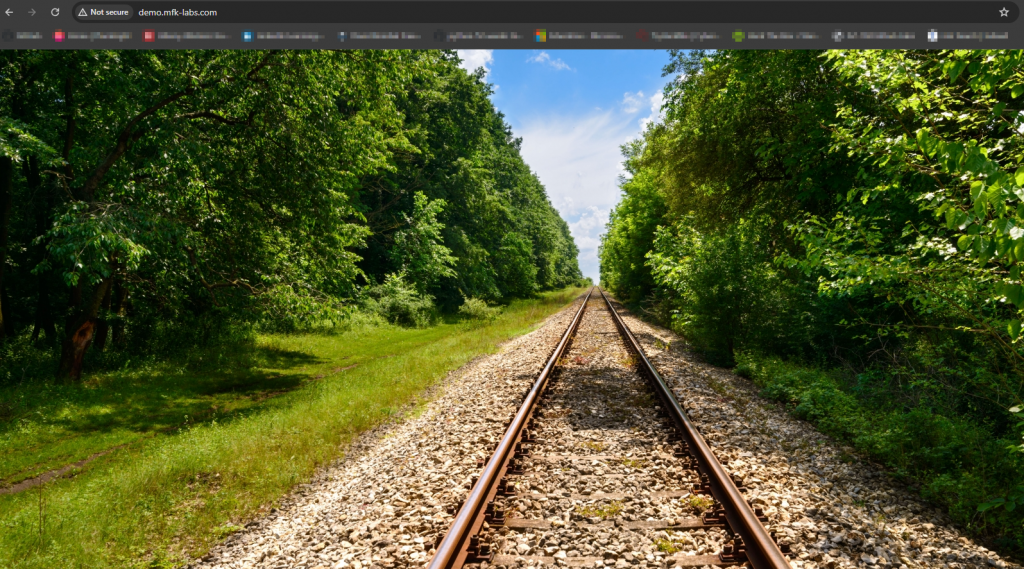
And that’s it, I just wanted to create a short post on how to create a basic HTTP site, in the future I may create a more advanced post and show how to set HTTPS and a few other tricks to protect/lock the website further.
I hope this may be helpful, always keep learning, and thank you so much for reading 🙂 see you next time!